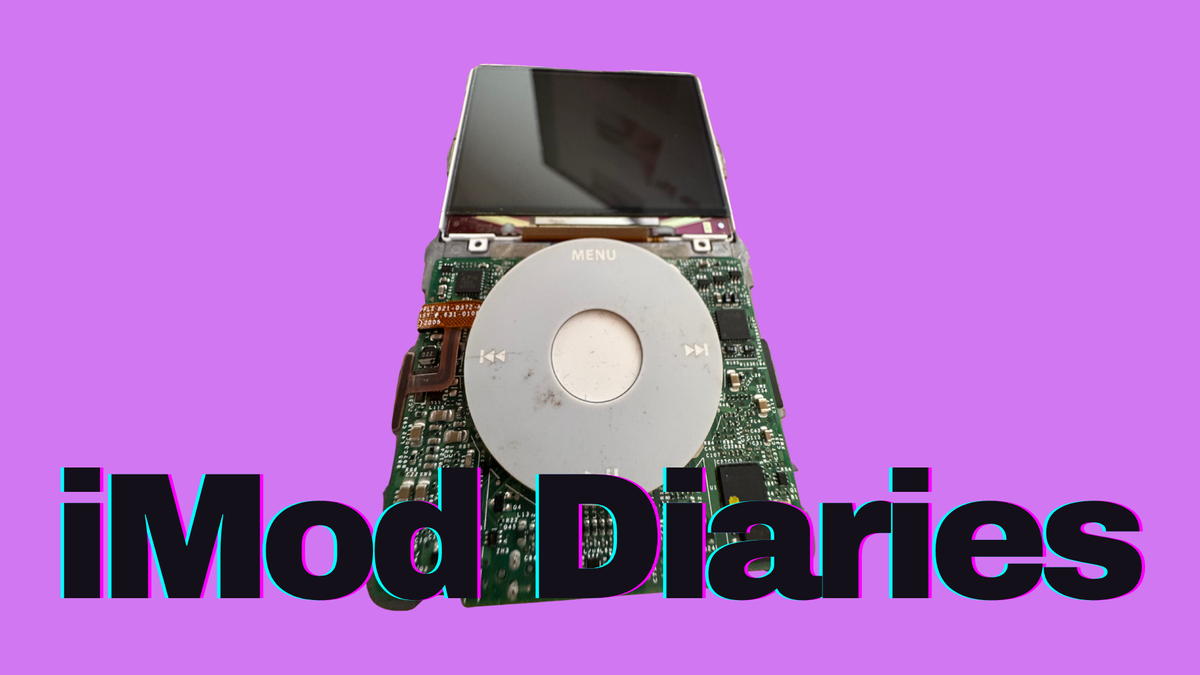
iMod Diaries #2: A classic rebuild
Featuring a classic mistake

Welcome back to iMod Diaries, an exclusive Day Soda series following my journey into iPod modding. In this edition, I’m cracking into my first iPod upgrade. If you want more details on the iPod and why I chose these parts, make sure you read part one:

My guides
For reference, I primarily followed iFixit’s guides for the upgrades below, which are clear and well-illustrated:
Open up
Compared to the later sixth and seventh gens, the fifth generation iPod classic is easy to open. I found it pretty straightforward the first time—you need to insert a thin tool to free several retaining clips around the sides of the iPod, and once one long side is free, the rest is simple.
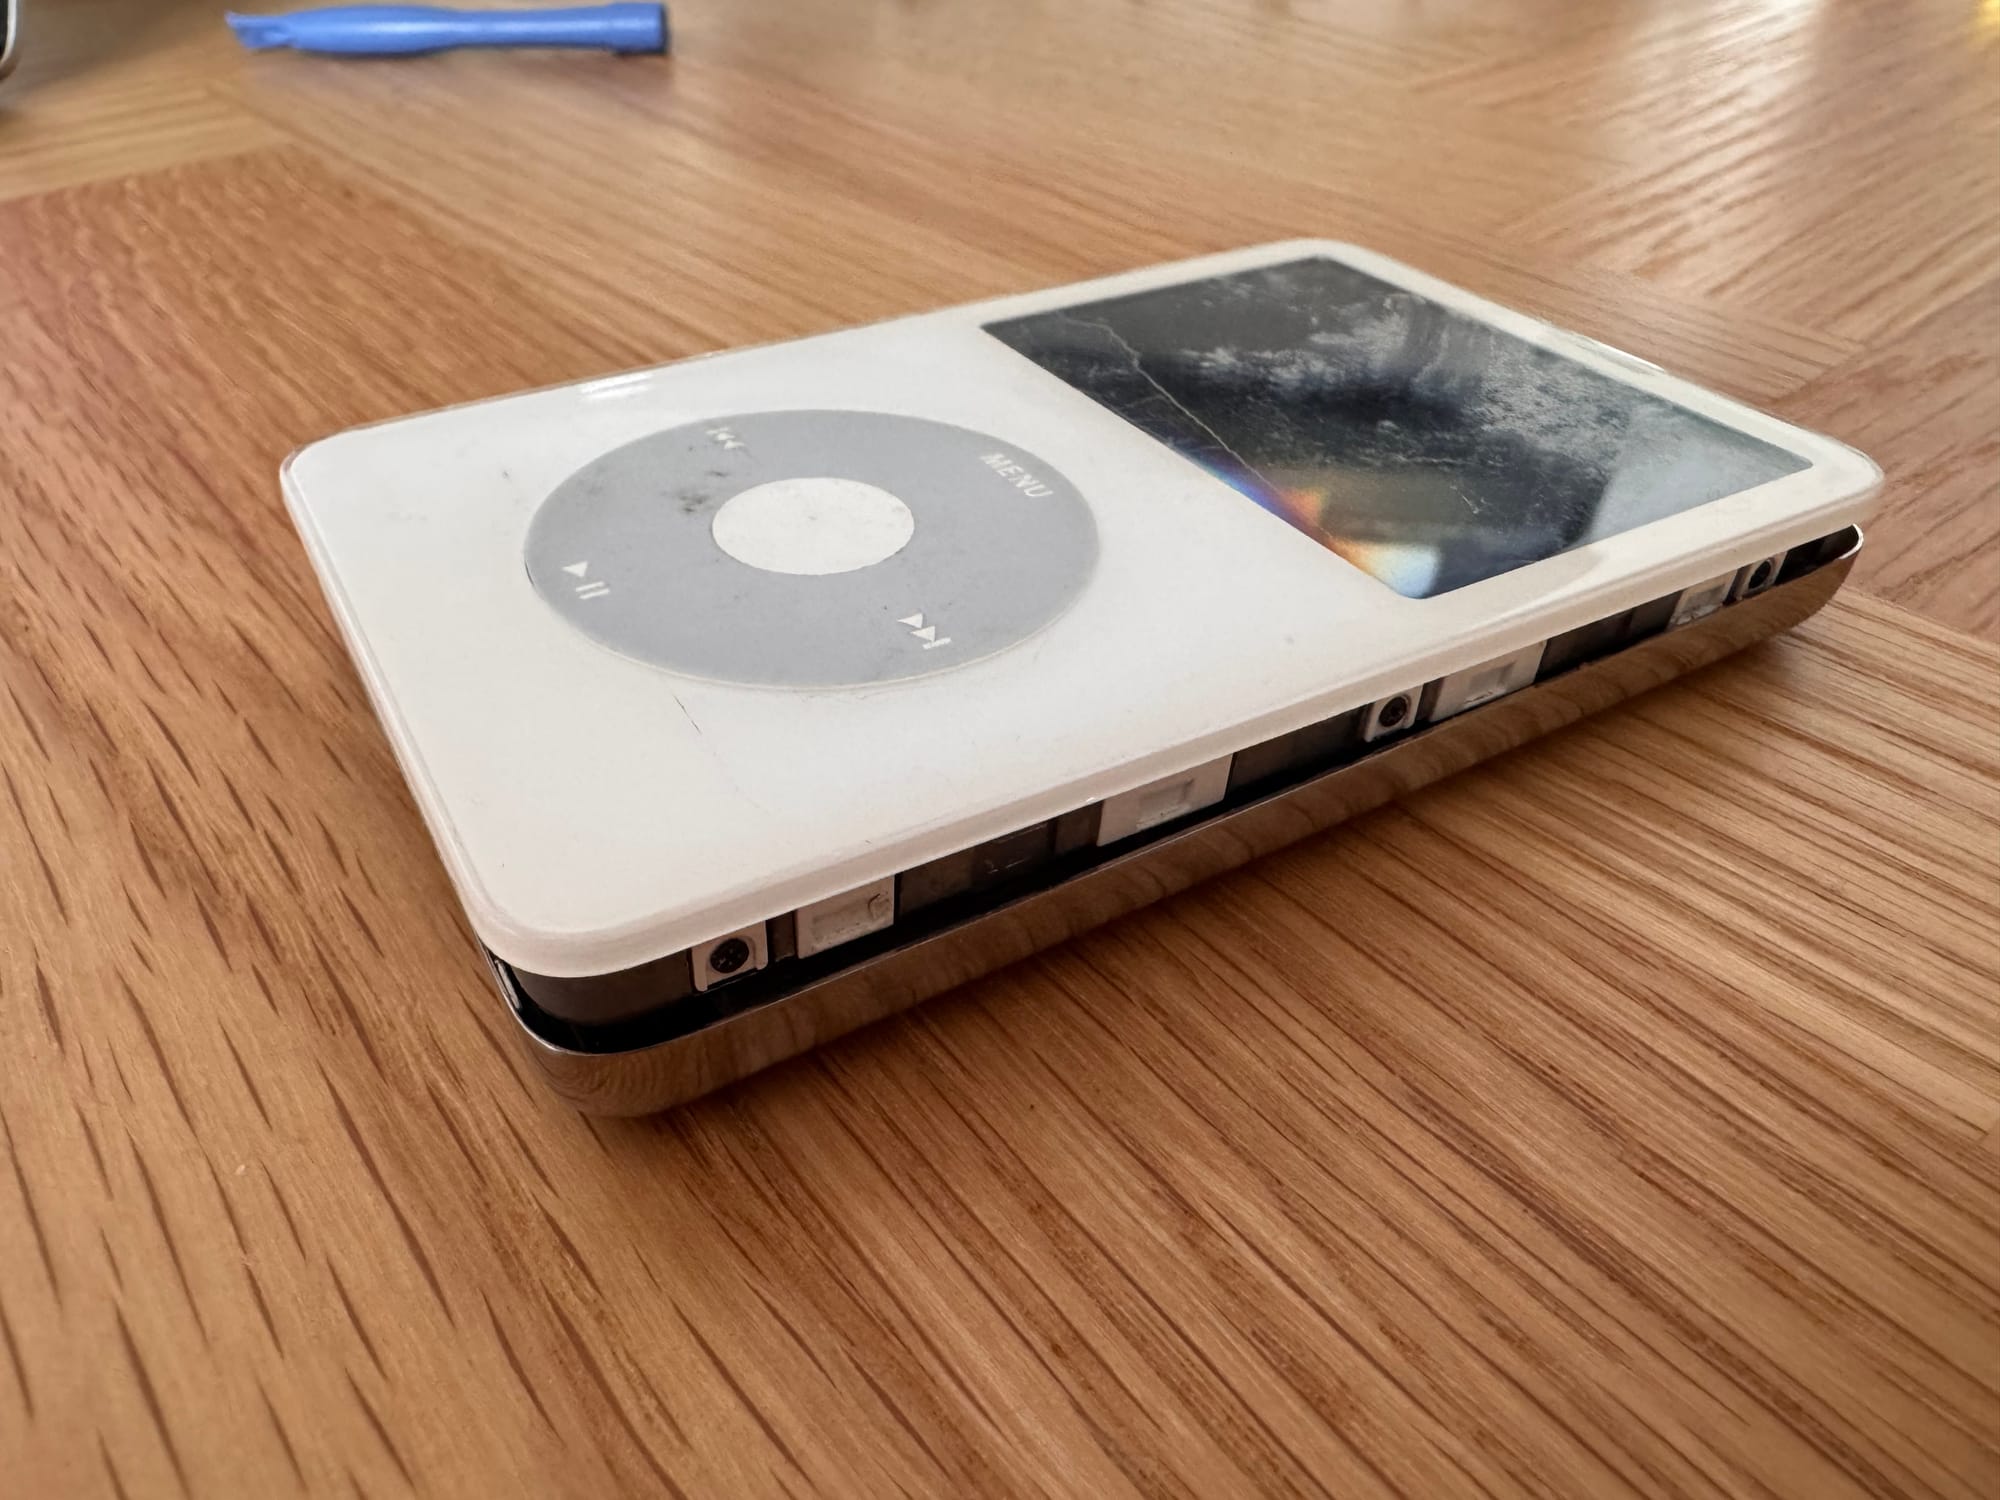
Once I had all of the retaining clips free, it was clear that the previous owner had already been inside—both the battery and headphone jack cables were disconnected. These two cables travel from the back case to the logic board in the front and can be easily damaged while opening the iPod. The headphone cable actually did show some signs of damage—it had been folded weirdly, a wrinkle that would become frustrating when it came time to reassemble.